JAN/FEB – Windows & Doors

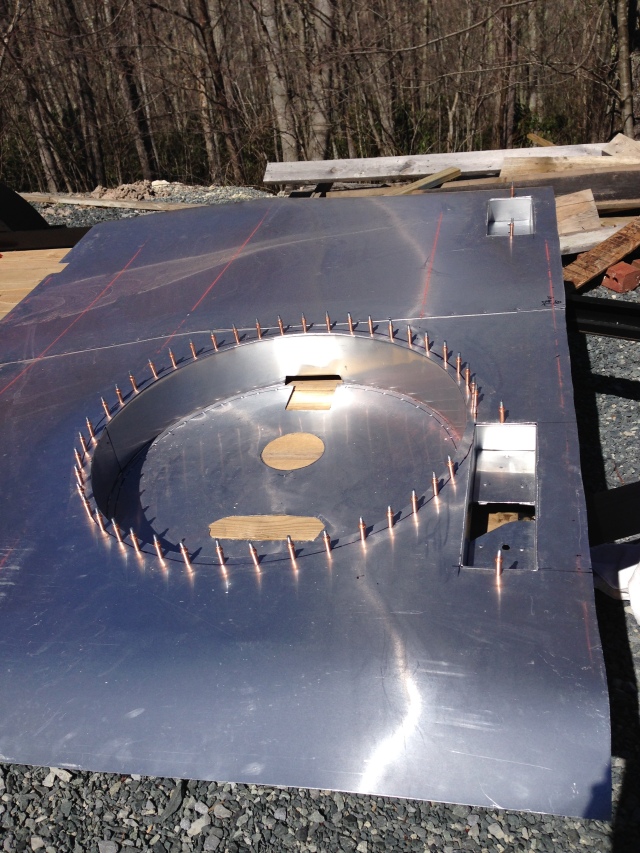
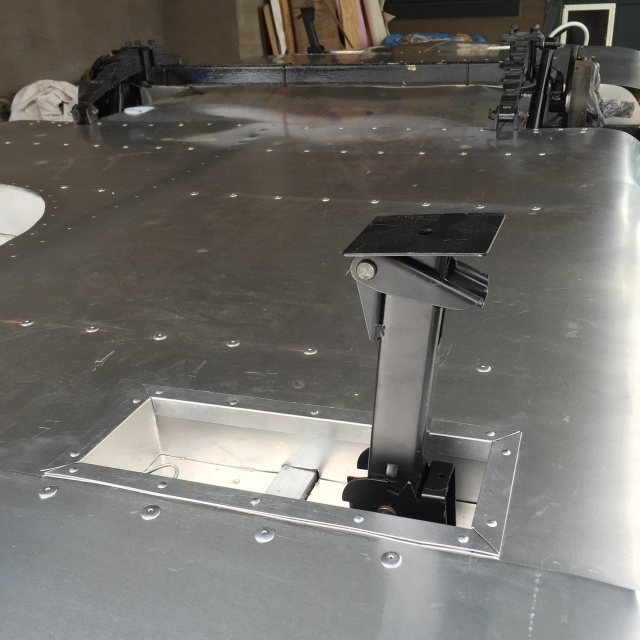
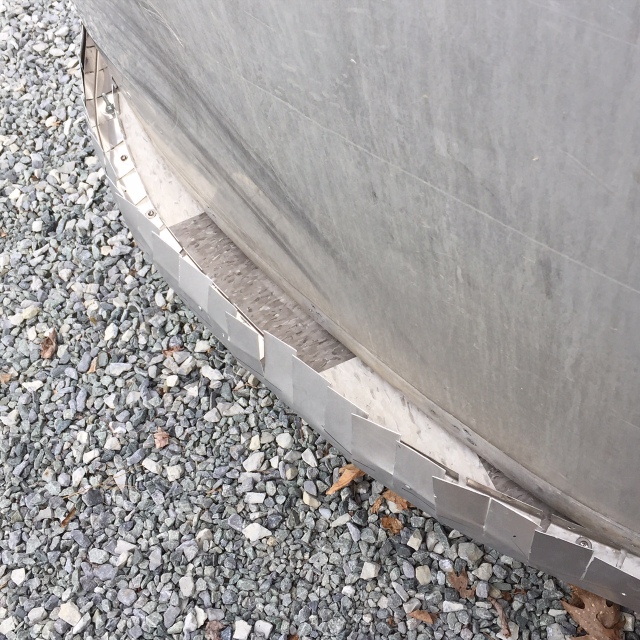
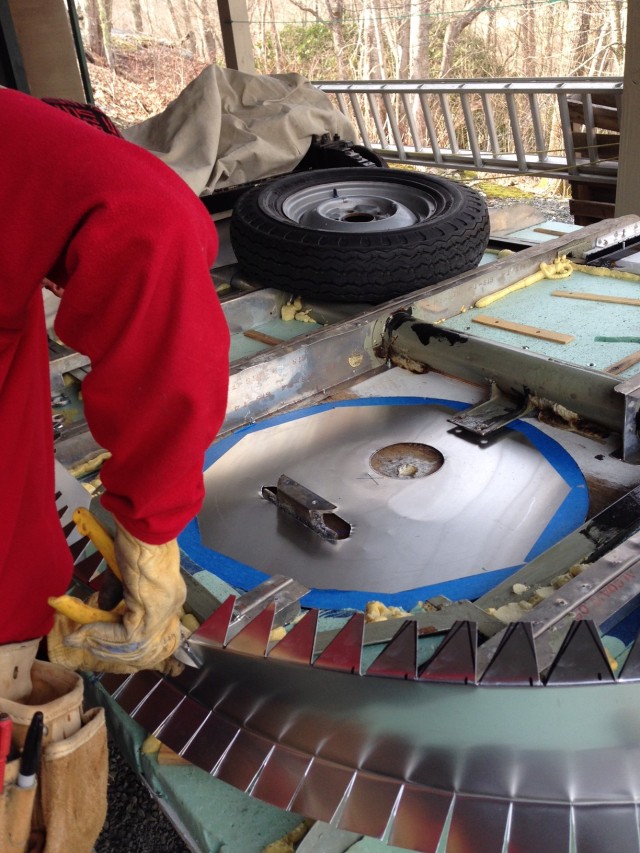
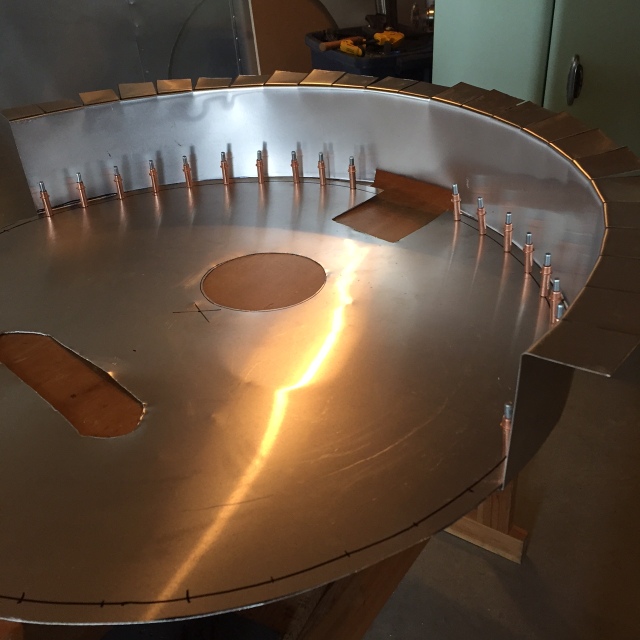
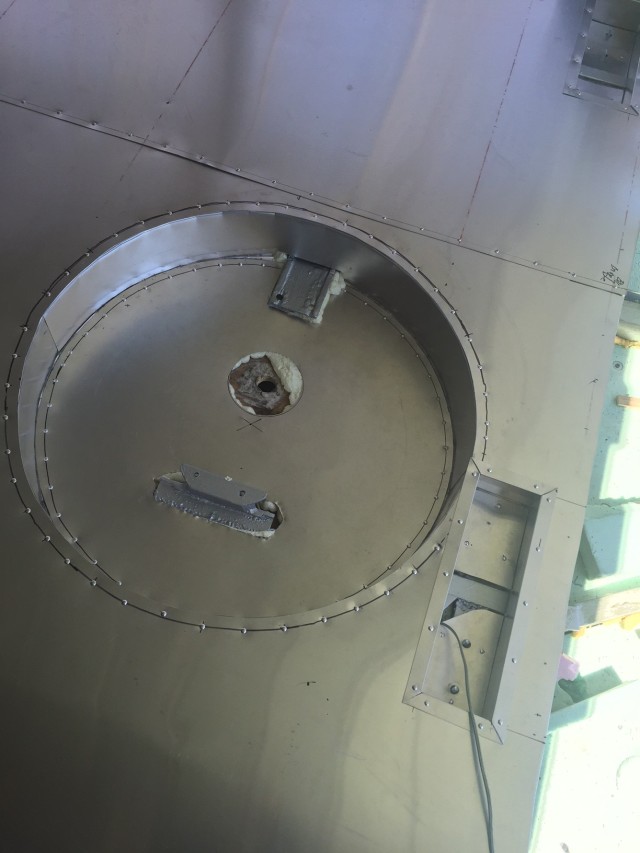
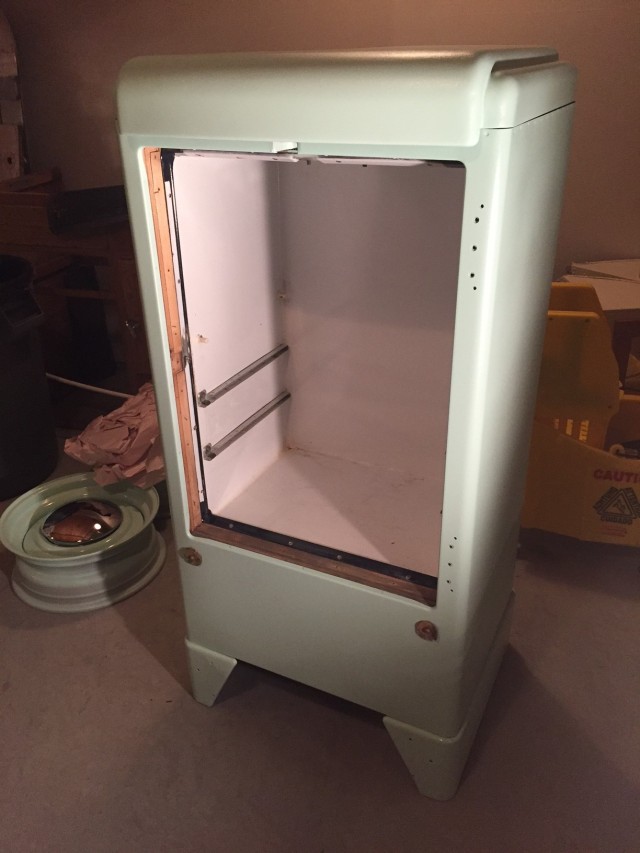
We patched two holes in the roof from the original furnace and fridge with one patch.

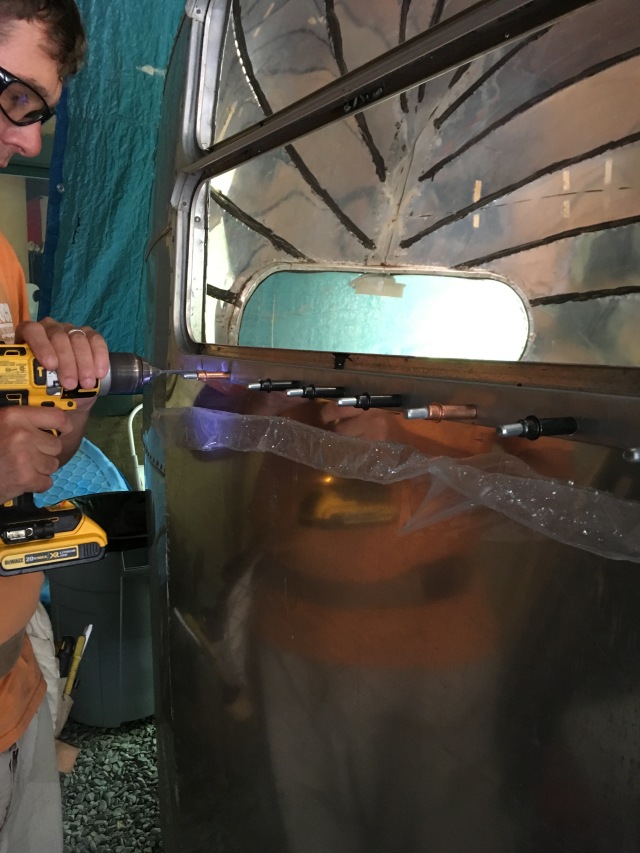
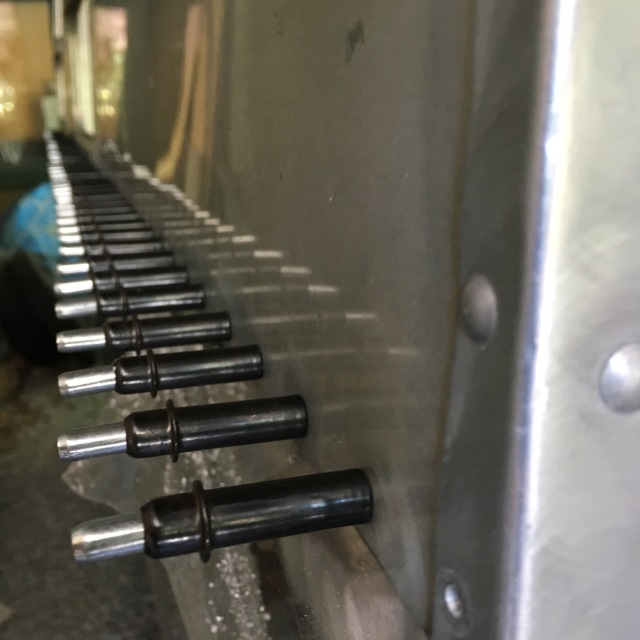
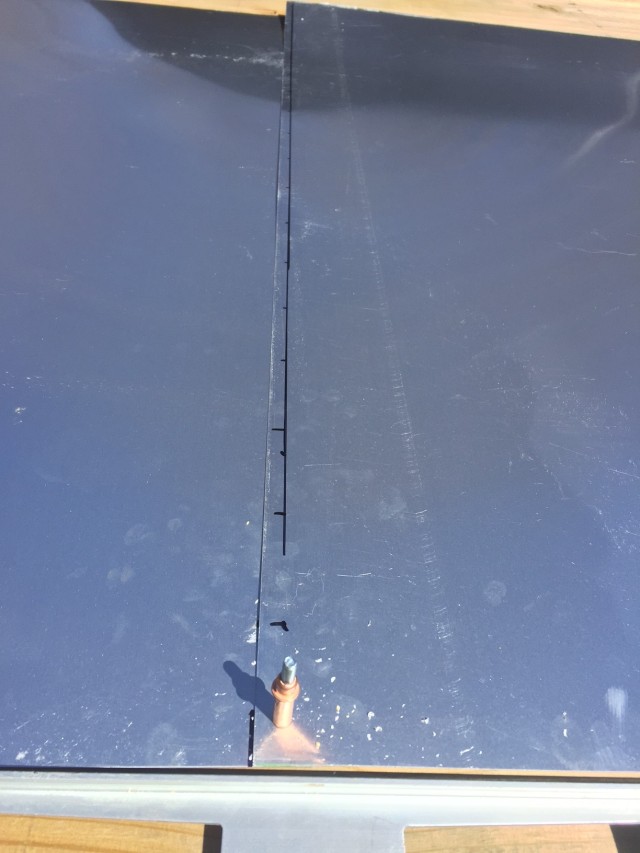
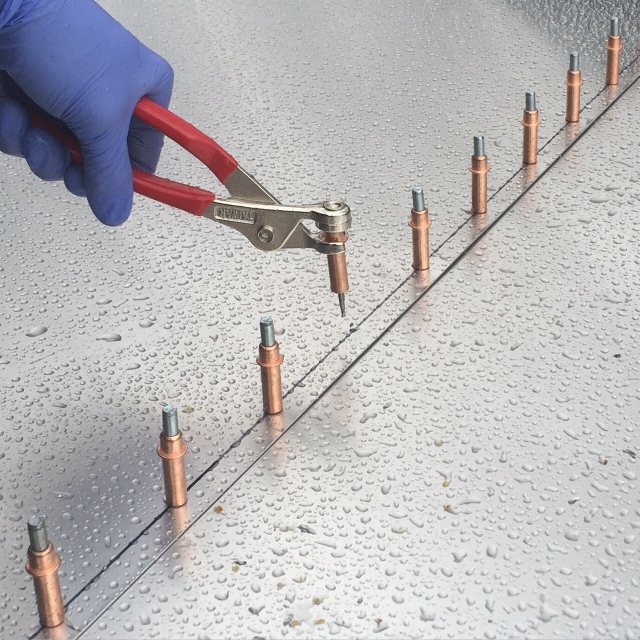
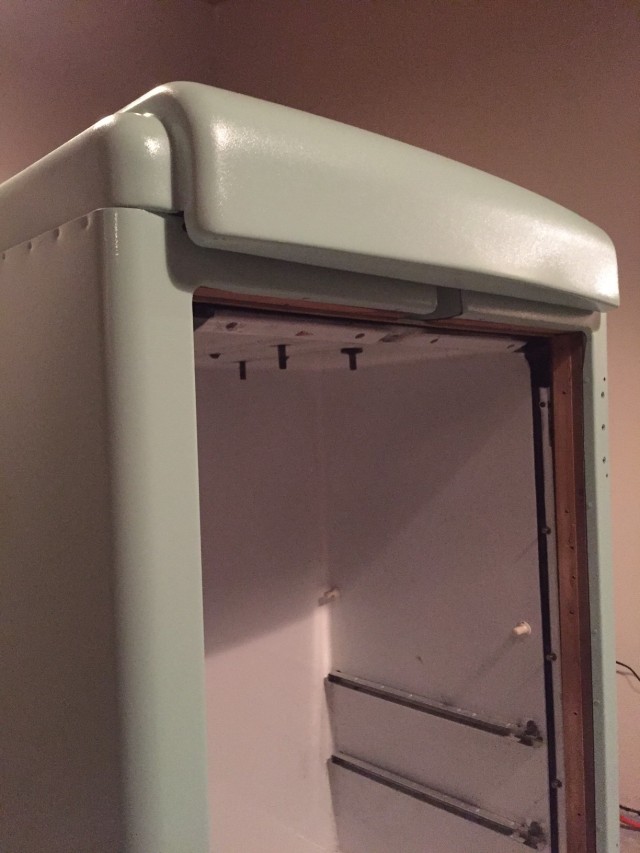
Every inside seam is fully caulked.

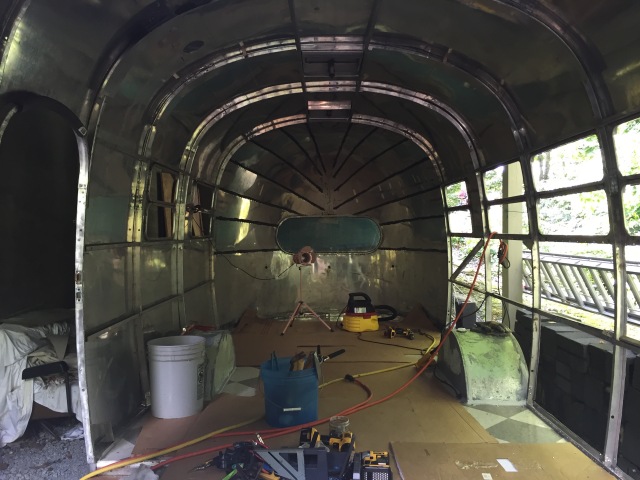
We spent many cold days inside rebuilding the last few side windows and polishing the interior window hardware.

The rear window frame was a mess. Now it is shiny and ready for the new rear window. We also spent some time tracking down new seals for the rear and front windows.  Vintage Trailer Shop & Steele Rubber Products were very helpful.


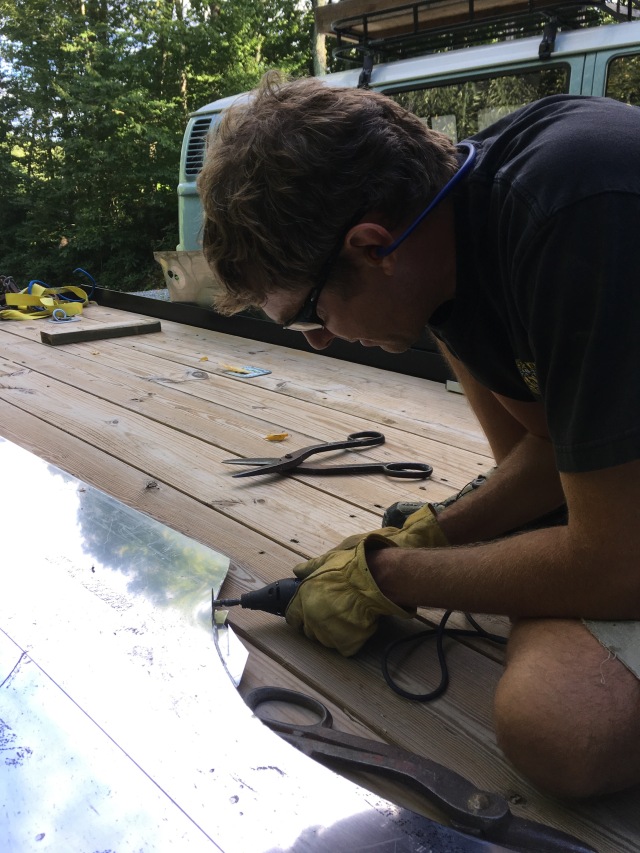
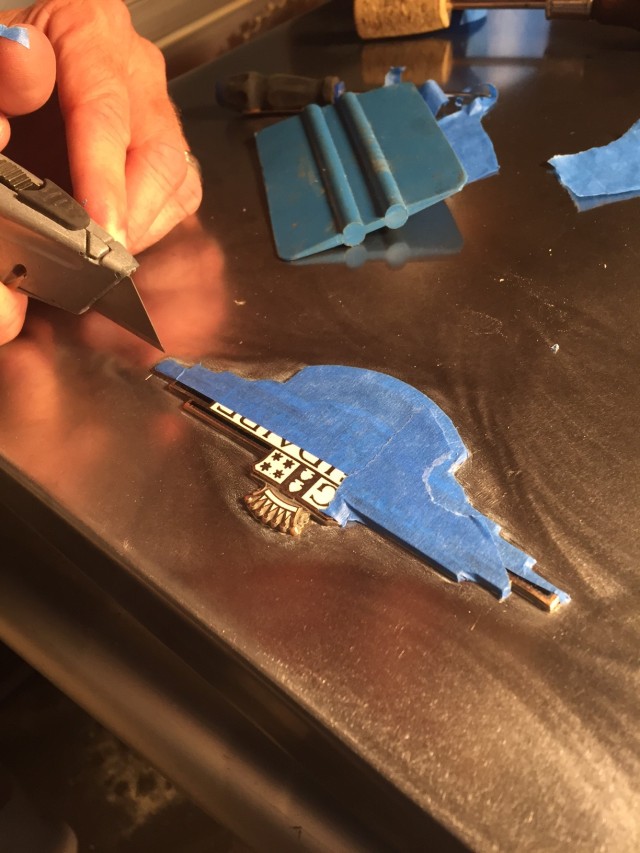
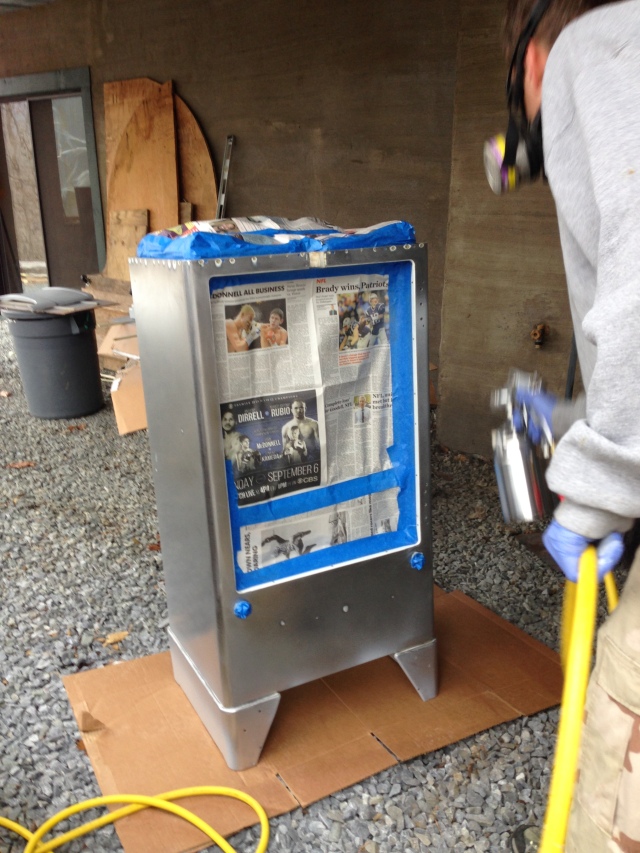
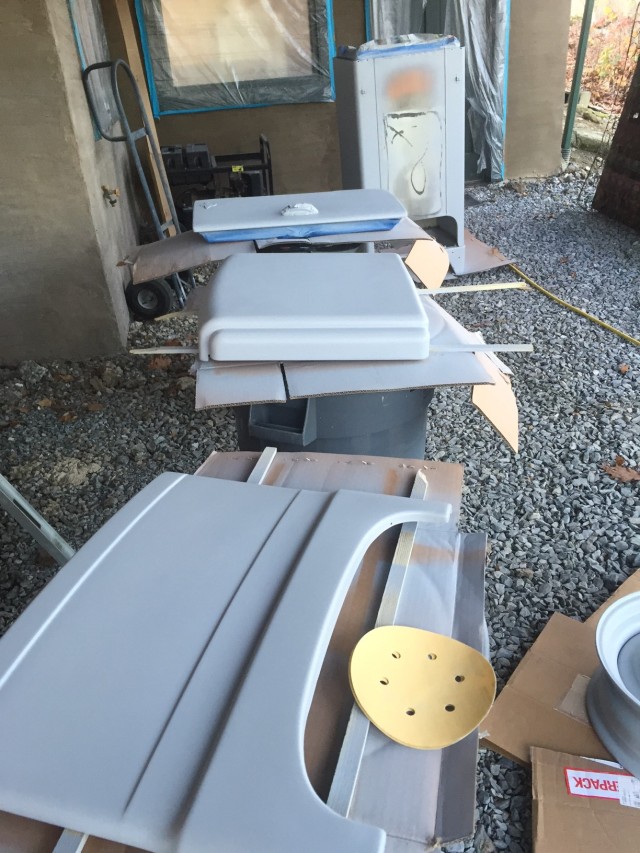
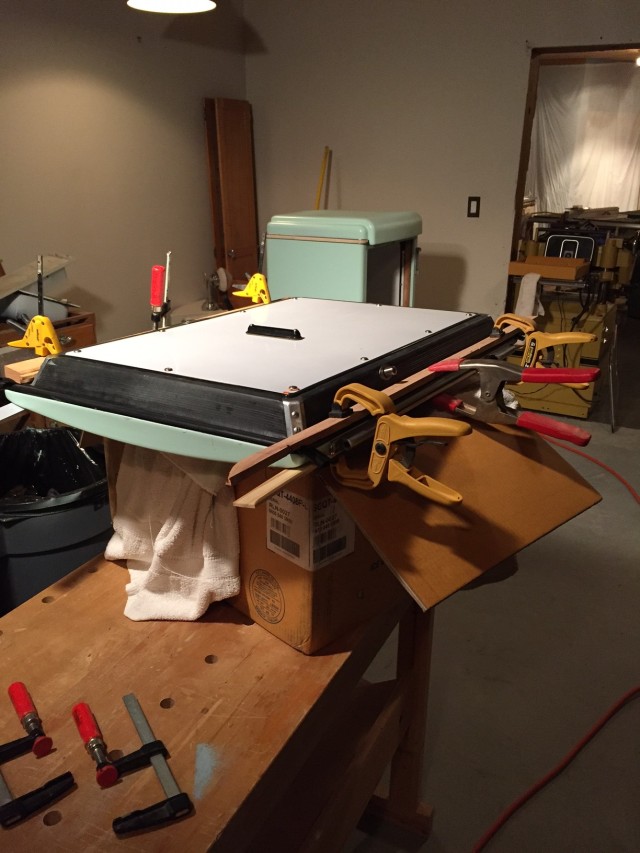
The door has been the biggest project so far this year.  In the process of installing a new lock and deadbolt we also fabricated a couple of new panels. There has been a lot of putting things together and taking them apart…then making some adjustments and putting it all back together again…and on and on. It’s nearly ready to reassemble and insulate with spray foam. Then we’ll polish the rebuilt door for an introduction to polishing.

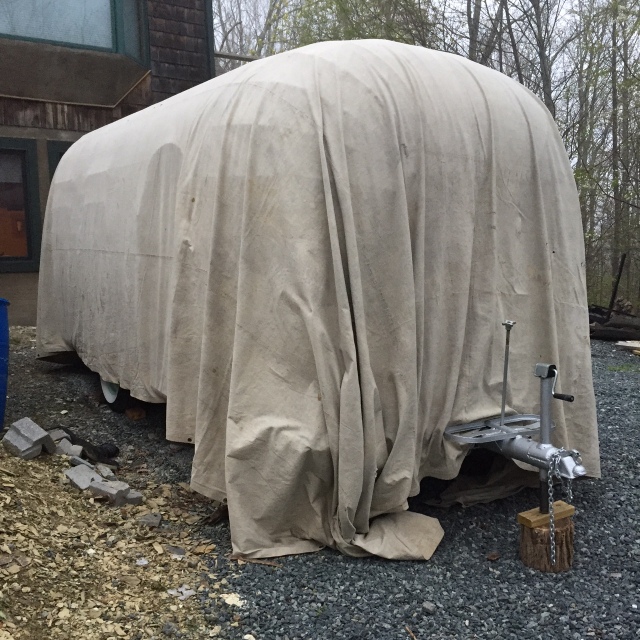
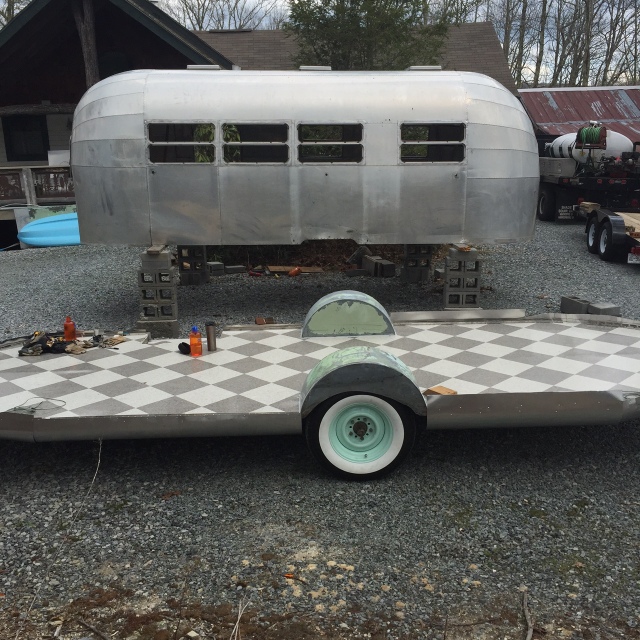
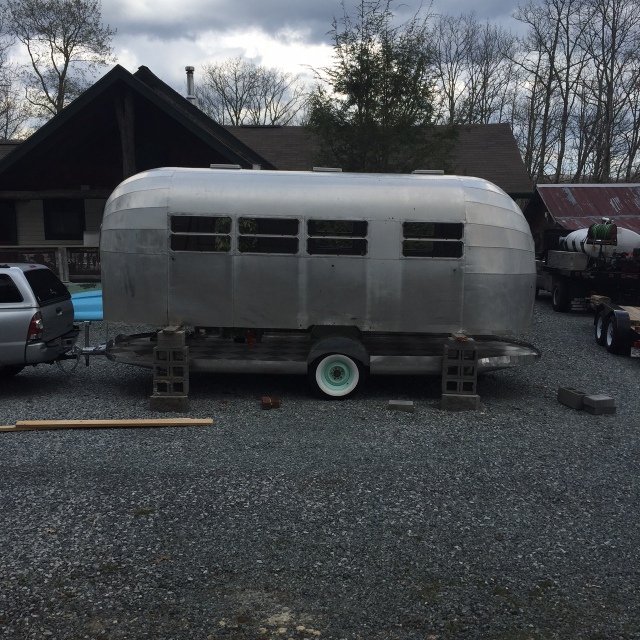
We spent a little over 100 hours during January and February bringing the total hours to 1,525 so far for the whole project.


Sept/Oct/Nov/Dec – REPLACING PANELS


We weren’t happy with a few crinkles in the new front belly pan so we replaced it again while it was relatively easy with the front side panel off. The new one looks much better!


New front panel

New rear panel

New windows seals and windows are going back in.

We worked 150 hours over the last four months of 2016 bringing our total for this year to 758. We’ve now got over 1,400 hours of work invested. Wow!

AUGUST – fitting the shell & new panels

After a few months off we’re back to work. We’ve put in 140 hours this month.

We had to shave a small sliver off the floor in front and in back in order for the shell to fit back on properly. That was a lot of work: cutting the floor, re-sealing the edges and re-shaping the belly-pans.

Fitting the shell over the belly-pans and down onto the floor was a slow process of finding all the places where the aluminum was binding and relieving the pressure without lifting the shell anywhere else. Eventually the shell sat solid and in the right place.  It was amazing how much more stable it all was even before any more riveting was done.

Once the frame was secured all the way around with much stronger ties than were originally used we started replacing all of the side panels. We drilled out the old panels, used them for a template to cut the new panel and then drilled a few holes across the top.  This way we could hang the panel and then drill all the other holes directly through the existing holes.

Buck riveting has been interesting. We’ll get some pictures for next month…


IMG_3741

replacing all of the side panels

IMG_4402

cutting the wheel-wells with a Dremel

IMG_4456

drilling holes in the new panel and securing with Clecos

IMG_4459

ready for rivets

MARCH – belly pans

We spent most of this month prepping for and installing the belly pans. We finished the 2″ insulation under the floor and filled all the gaps with foam. Then we spent some time fine-tuning the spare tire carrier to make it as low-profile as possible. We also installed four stabilizer jacks. Once these were all in place we began fabricating the new belly pans. We started with the center and worked our way out. Forming the metal around the tire carrier and stabilizer boxes was very time-consuming. We worked 121 hours this month. Once we get the front and rear panels formed we’ll be ready to flip the chassis over and replace the shell!


IMG_2675

IMG_2728

IMG_2591

IMG_2711

IMG_2726

IMG_2742

JANUARY – VCT tile, flipping the trailer, floor insolation

January was cold but we still managed to do 89 hours of work. After laying the tile we also sealed and polished it. The wheel tubs were reinforced all around with galvanized steel. Then they were primed and undercoated prior to installing. After flipping the trailer I spent some time preparing the mounts for the four stabilizer jacks. Then we were ready to fit the 2″ blue-board beneath the floor. It’s been snowing a good bit the last couple weeks so work is at a standstill. Bellypans are next once weather permits.

IMG_2092

love the checkerboard!

IMG_2195

more snow!

DECEMBER – shocks, subfloor cutting/caulking/painting/bolting + CVT tile

The weather was great in December and we got a lot done. We worked 159 hours.  We finished up with the shocks and a few last welding details on the steel frame. Then we were ready to start the flooring process. The sub-floor was bolted on. Then we set the shell on to mark the outline of the floor. Then we lifted the shell back off and set it back on the ground. After cutting out the outside edge of the subfloor we caulked all the edges then primed three coats and painted three coats. Once the sub-floor was laid we moved the trailer into a garage for applying the CVT tile. After sealing two coats and polishing four coats we let the trailer sit inside for a week to cure.

IMG_1862.JPG

new shocks!

File Dec 26, 10 10 35 AM

frame is ready for a floor

File Dec 06, 1 34 26 PM

laying out the 3/4″ MDO subfloor

IMG_1973.JPG

carefully backing the chassis under the jacked-up shell

IMG_1983

Merry Christmas!


File Dec 26, 10 12 47 PM

sub-floor primed, painted, bolted down and marked for tile


File Jan 03, 4 23 53 PM.jpeg

IMG_1930.JPG

had the local HVAC shop bend me some new c-channel and peices of galvanized steel for wheel-well repair

IMG_1900.JPG

we picked-up some new laminate for the counter tops


NOVEMBER – prepping frame, stripping paint, painting fridge, wheels & axle

The frame/chassis was in the welding shop for the first two weeks of November. They only needed to straighten-up the support for the gray-water tank but it took them a while to get around to it. Not having the frame here held up progress during some good weather…oh well. We still managed to get 87 hours of work done this month.

Once the trailer was back we were able to tackle a few smaller welding projects like adding a few attachment points to the frame and adding steel supports for the step. We also cleaned-up the axle, painted it, lubed the hubs and removed the old shocks. New shocks just arrived and will go on soon. We’re wrapping up the frame prep and will soon be ready to lay the sub-floor.

While the trailer was away we painted the fridge as well as the new smoothie wheels. We also scraped or blew most of the loose paint off all the interior panels. Most of the paint was collected in a large piece of filter cloth so it didn’t make too much of a mess.

File Nov 13, 12 18 39 PM

pressure washing endcaps

File Nov 22, 12 16 40 PM

added steel step support

File Nov 22, 12 10 17 PM

POR-15 on axle and leaf springs

IMG_1775

freshly packed hubs and bearings

IMG_1583

masking the fridge door

File Nov 08, 9 50 42 PM

ready for primer

IMG_1585

primed

IMG_1588

painted

IMG_1605

smoothie wheels with baby moon hubcaps

IMG_1603

the color looks different inside

IMG_1608

nice curves!

File Nov 30, 10 54 23 PM

gluing and clamping the new door seal for the Frigidaire


October 2015 – frame painting & interior panel scraping

October started with a flurry of progress the first week. Then we mostly waited for the welding shop to get around to finishing our job.  We only worked 96 hours this month. Mostly grunt work: grinding, painting and scraping. But it is satisfying to see the trailer starting to improve.

Once we finally got the chassis back we removed as much surface rust from the original pipe frame as possible with a grinder.

File Nov 08, 10 11 30 PM

I let the grinder get away from me one time and it quickly taught me a lesson.

File Nov 08, 9 58 42 PM

We prepped all the steel and applied 2 coats of POR-15 silver paint. Then we top-coated the few exposed areas of the frame.

File Nov 08, 9 53 41 PM

I’m pleased with the improved frame and the POR-15 paint.

File Nov 08, 9 52 37 PM

Once we had the trailer weather-proof(rust-proof) we took it back to the welding shop for a couple of final tweaks.  It’s been there for two weeks now. Hopefully they’ll get it back to us soon.

While we’ve been waiting I’ve scraped a lot of the paint off the interior panels. Citrus-Strip and a BBQ scraper mostly. The last few panels I did with a pressure washer. I prefer that method.

File Nov 08, 9 49 00 PM File Oct 04, 6 39 13 PM

IMG_1623

We’ve been doing a lot of planning of interior elements. We ordered VCT flooring tile that we’ll lay in a checkerboard pattern.

IMG_1609

Winter is on the way. Our goal for November is to get the floor down, belly-pans riveted and the shell back on!

getting started

We recently purchased a 1950 Airstream Flying Cloud. 1950 was the first year Airstream made the Flying Cloud model which they still make today. The serial number is 7002 indicating it’s the 3rd one ever made!

It has the original pipe frame design, which we will have to reinforce with more steel. The floor was completely gone in the front and rotten everywhere else. The previous owner had removed all of the interior fixtures and left it all in the trailer.

It’s been one month since we drove to Kansas to pick it up and brought it back to North Carolina.  Tracie and I have spent around 200 hours on the project so far.  96 hours were spent driving to and from Kansas. The other 104 have been spent dissembling, unscrewing screws, drilling rivets, cleaning, planning and researching. The trailer is now completely disassembled except for a few windows.  The shell is off the frame and everything has been pressure washed. We’re ready to rebuild the frame and check the axle, brakes, etc… we will also start rebuilding the windows soon.

The goal for next month is have the chassis and frame fully serviced, have a new sub-floor and belly pans in place and be ready to put the shell back on.

Here are some pictures from the first month:

IMG_0152

IMG_0157

IMG_0159

IMG_0154

File Aug 10, 9 50 29 PM

IMG_0148-1

File Aug 24, 10 31 55 PM

File Aug 24, 10 34 05 PM

old insolation

Endcaps

Cleaning

Jack up

lift 1 lift 2 lift4

Shell off2

frame and floor

frame crap

frame bare

frame z bare

frame bare-steel drawing

Stay tuned for another update at the end of next month